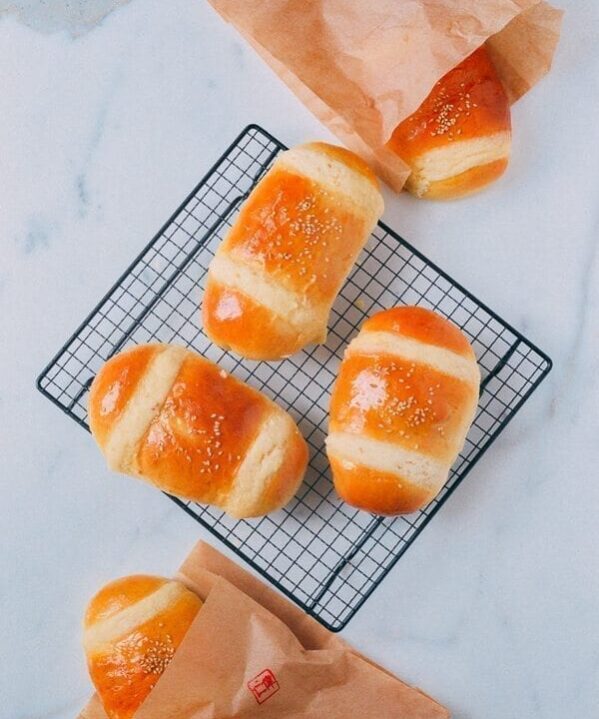
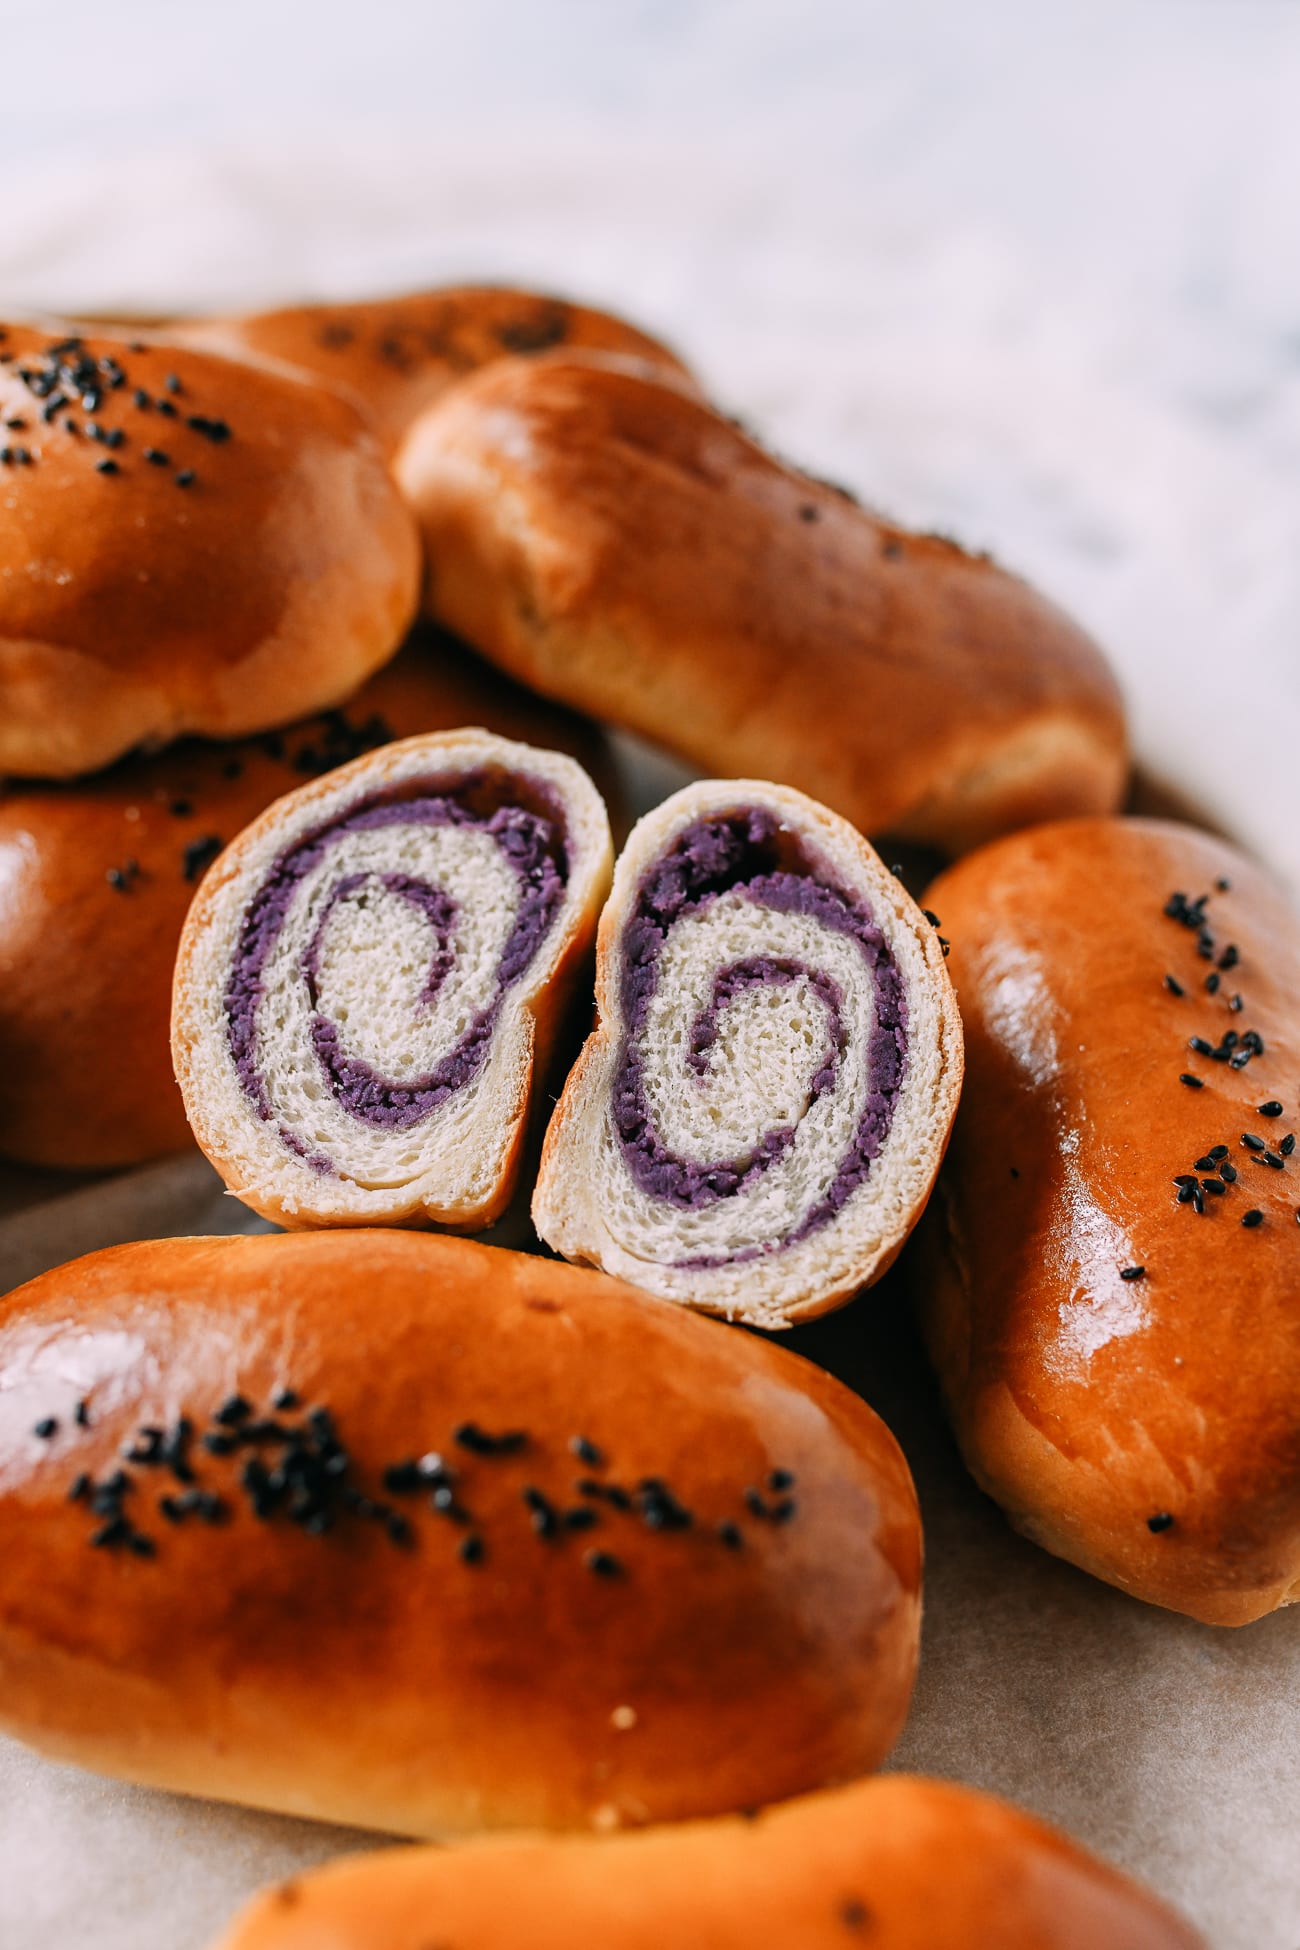
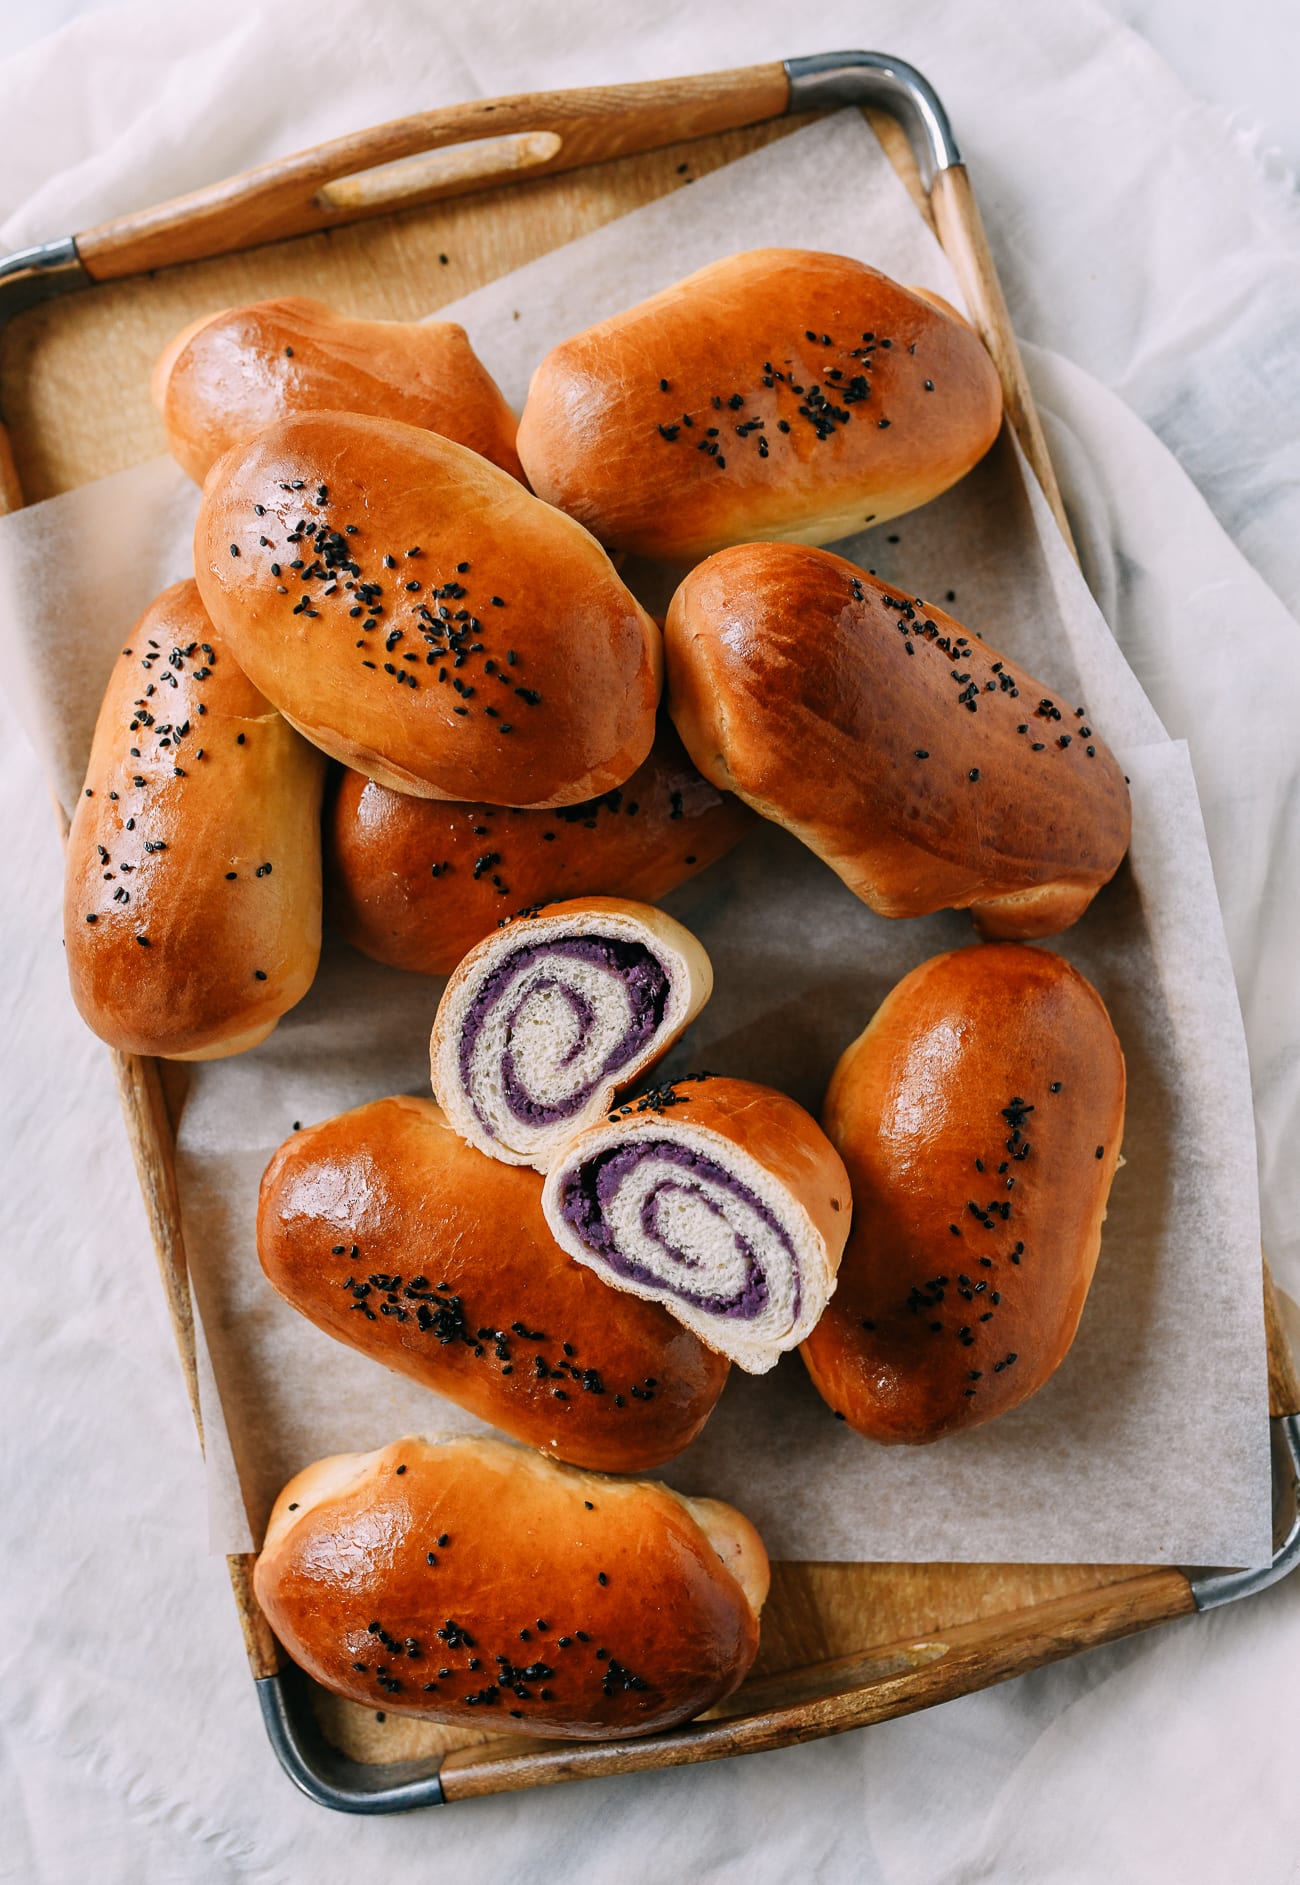
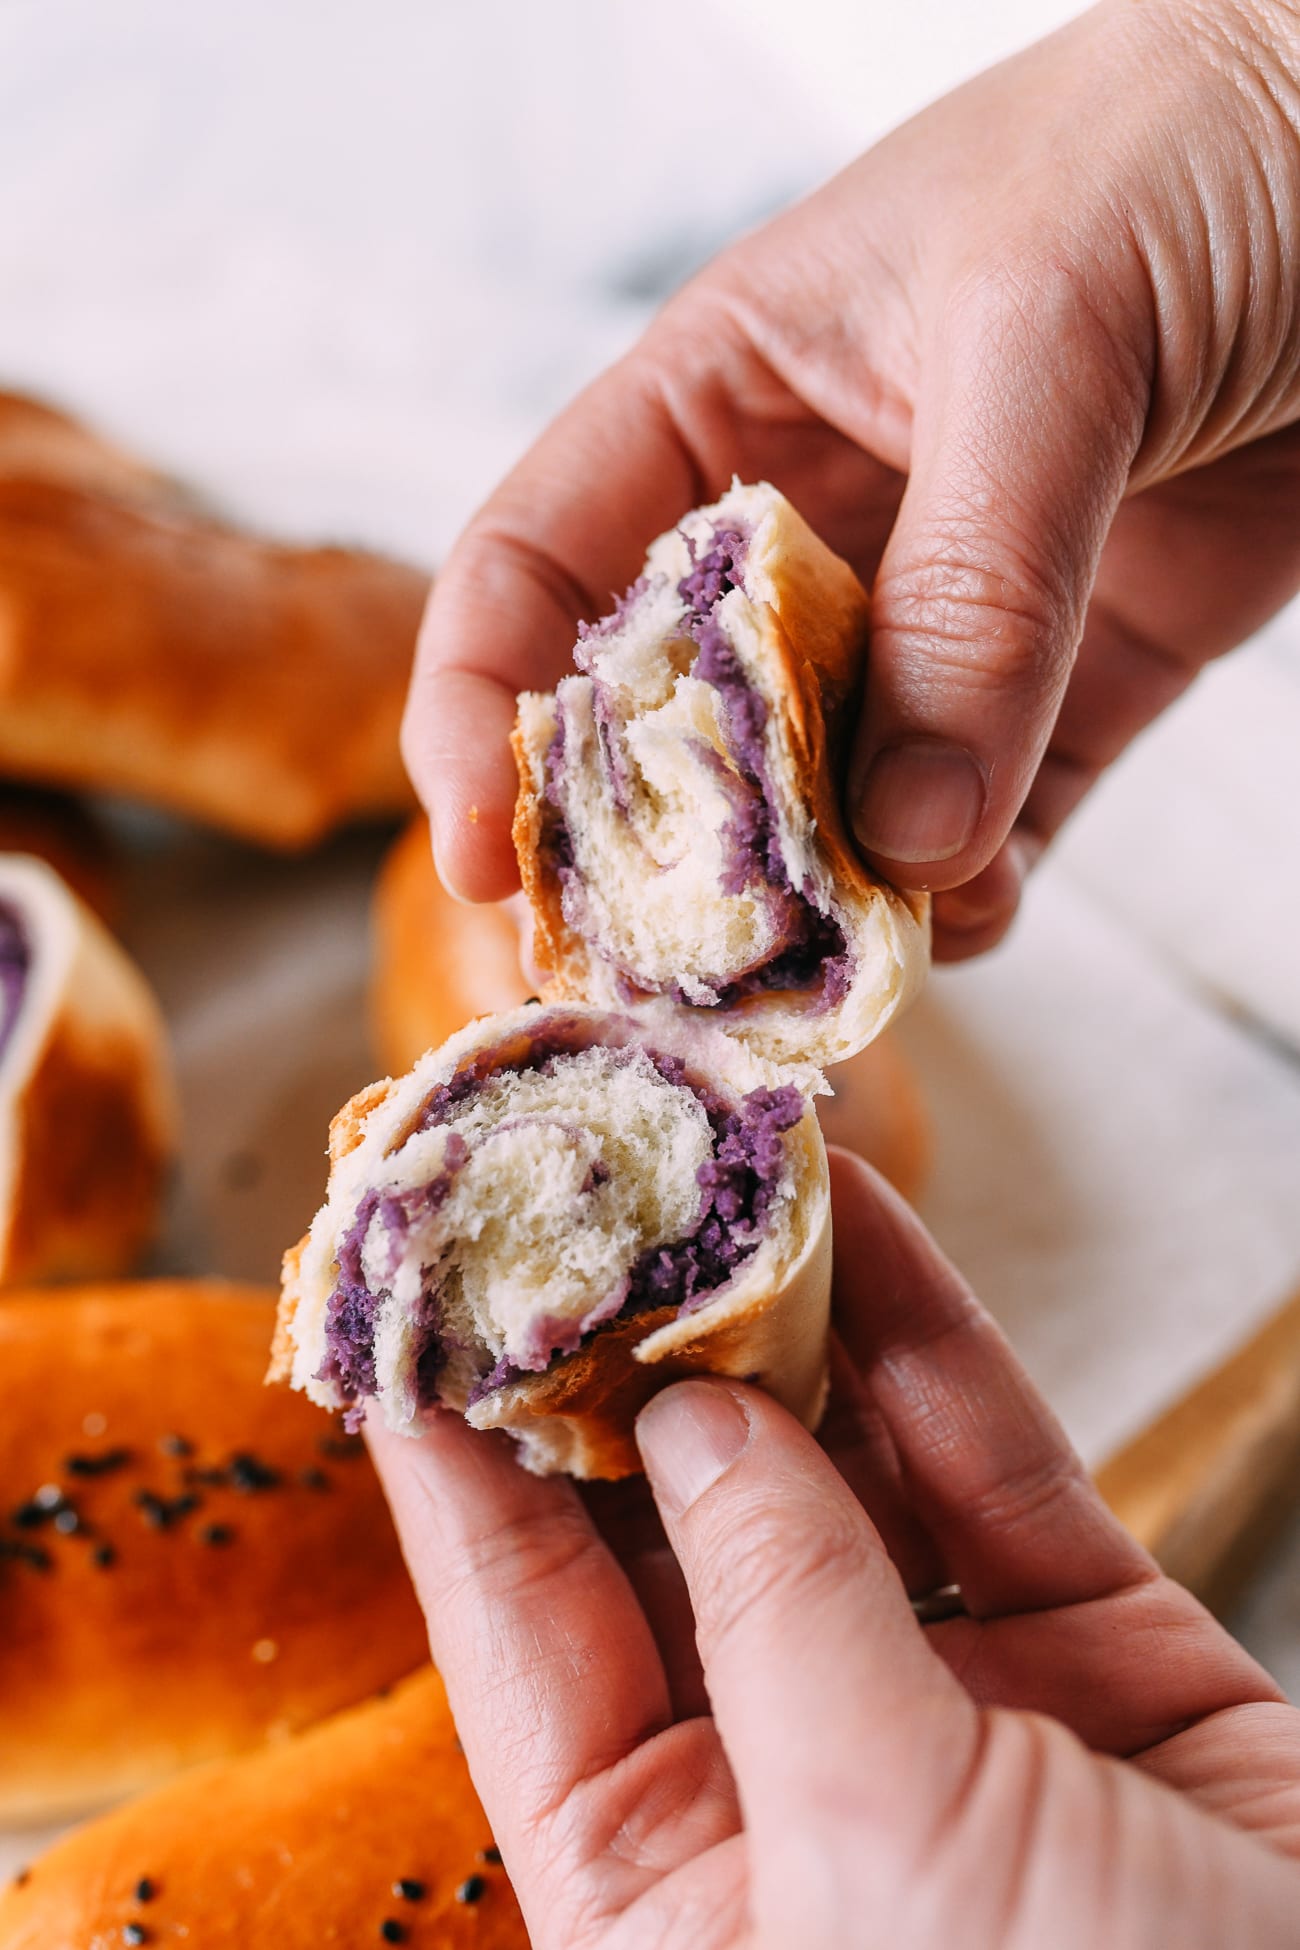
This ube bun recipe uses our signature milk bread, with an ube halaya-like filling that is light and coconutty, thanks to the addition of coconut oil instead of milk and extra butter. They’re our new favorite way to prepare milk bread!
What is ube?
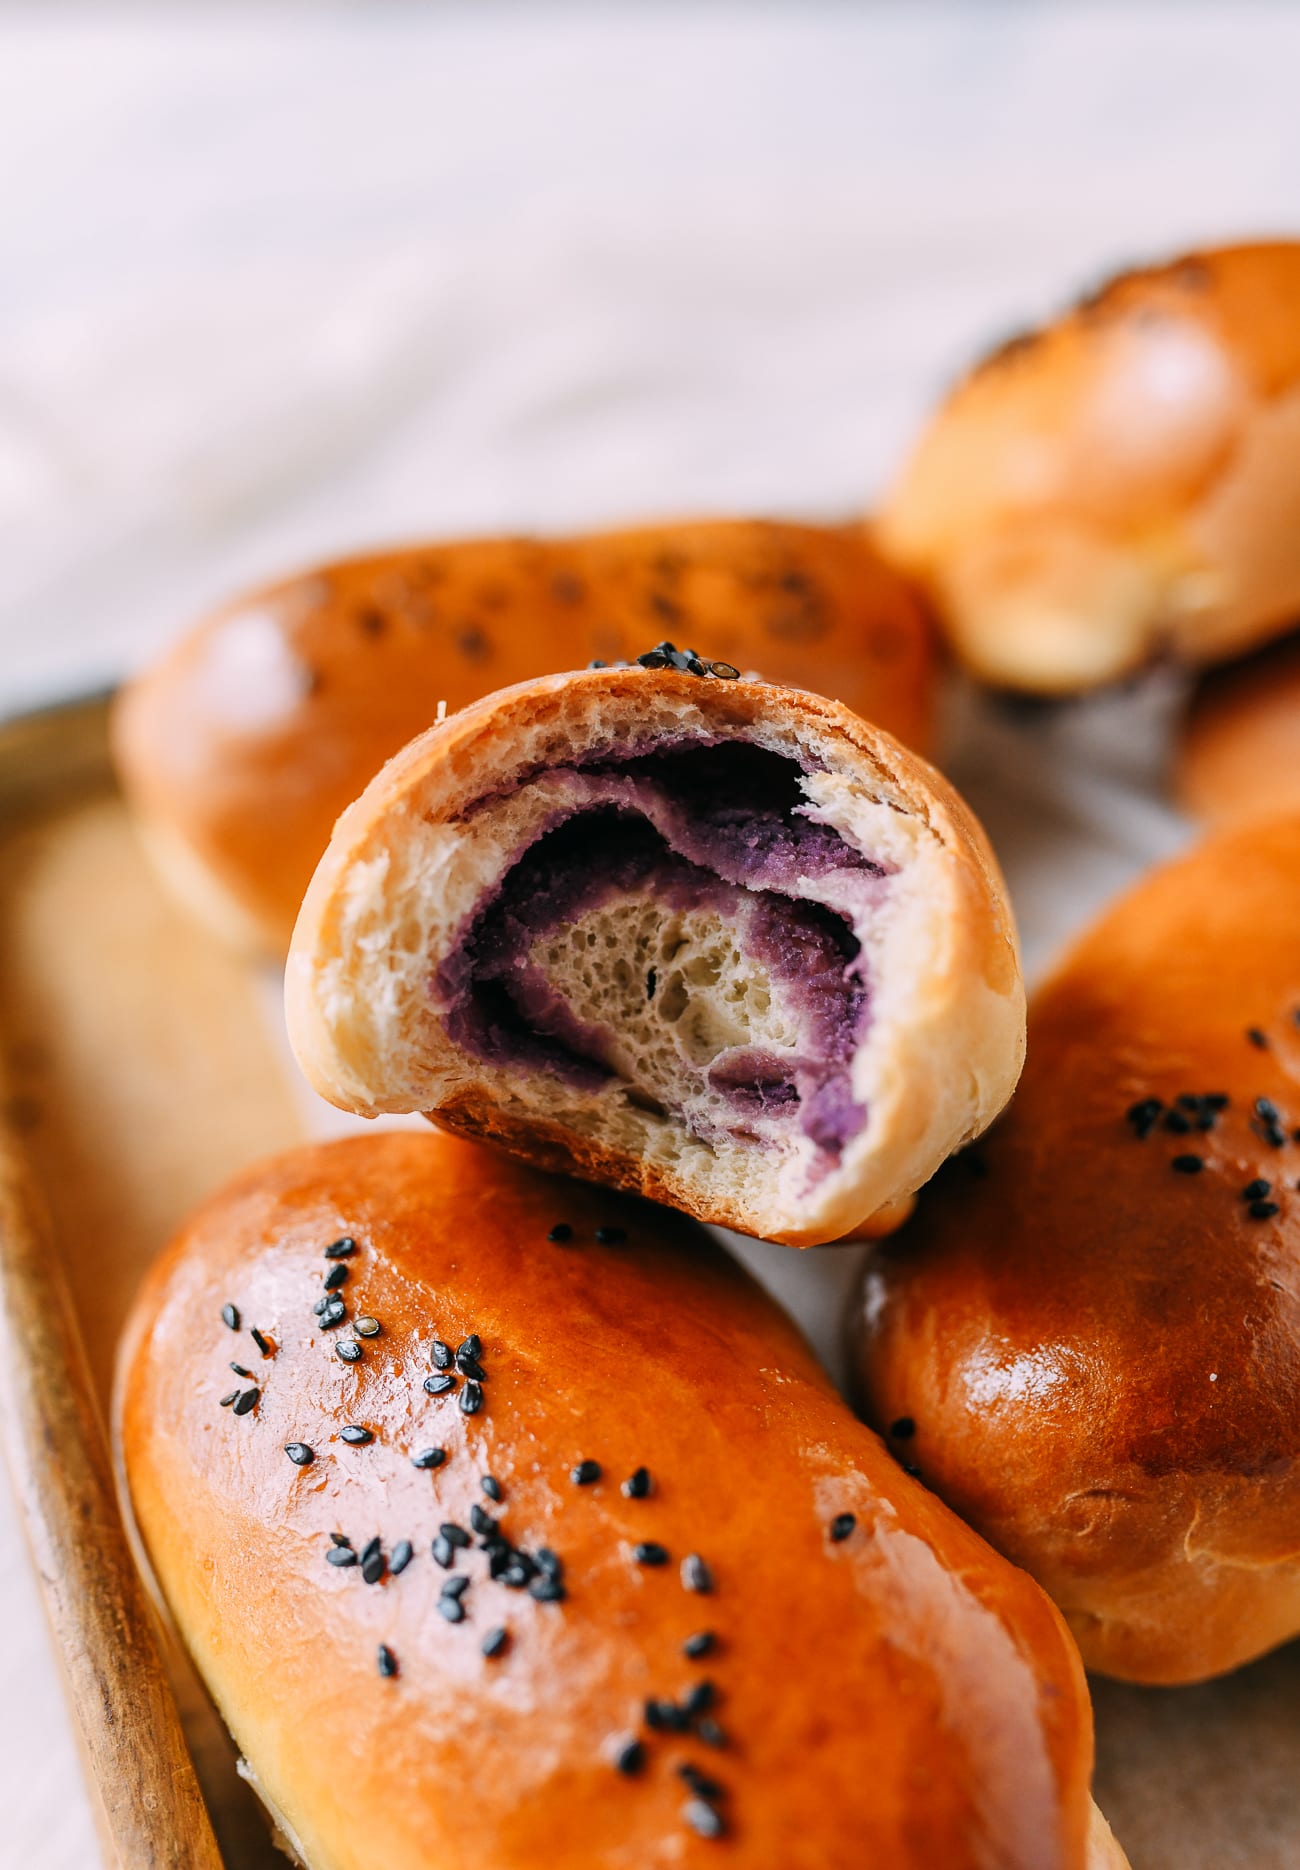
Ube is a purple yam that hails from Asia. Biting into a bright purple yam, it’s hard to know what to expect. The color is so disarming. But the flavor is mellow and rich like any great sweet potato, with a pleasant flavor that tastes a little bit like vanilla.

Ube is also rich in nutrients like vitamin C, fiber, and anti-inflammatory compounds!
Importantly, it’s not the same as taro, another purple tuber, which is lighter in color than the vibrant, deep ube purple (“violet” comes to mind, but violet is a flower, so shouldn’t ube be its own purple?). Taro is also used for sweet and savory applications in Chinese cooking.
Popular Ube Desserts
Ube is a popular ingredient in Filipino desserts, with ube halaya as the star. Ube halaya is made of mashed ube, sugar, milk, and butter cooked down into a sweet paste that’s great for filling sweet breads and buns like these!
You also may have heard of halo halo, which features ube halaya in a mixture of condensed milk, ice, fruity jelly cubes, tapioca pearls, flan, and other toppings like red beans and toasted coconut).
As for other desserts, you’ve probably seen the bright purple cross-section of ube bread loaves, and purple ube cakes have been showing up on Instagram. We’ll have to save those recipes for another day!
More info!
Learn firsthand from Filipino chefs about the wonders of ube here!
How to Cook Ube
Look for larger yams, which in our experience tend to be sweeter. (Though the small sizes are great for a healthy on-the-go snack. We haven’t tried it yet, but we bet they would cook up well using a similar method as in our Baked Japanese Sweet Potato recipe.)
The first step to cooking any ube treat, including an ube bun, is steaming the purple yam. We provide the instructions for steaming, mashing, and sweetening the ube in the recipe.
How to Make Ube Buns: Recipe Instructions
Make the milk bread dough:
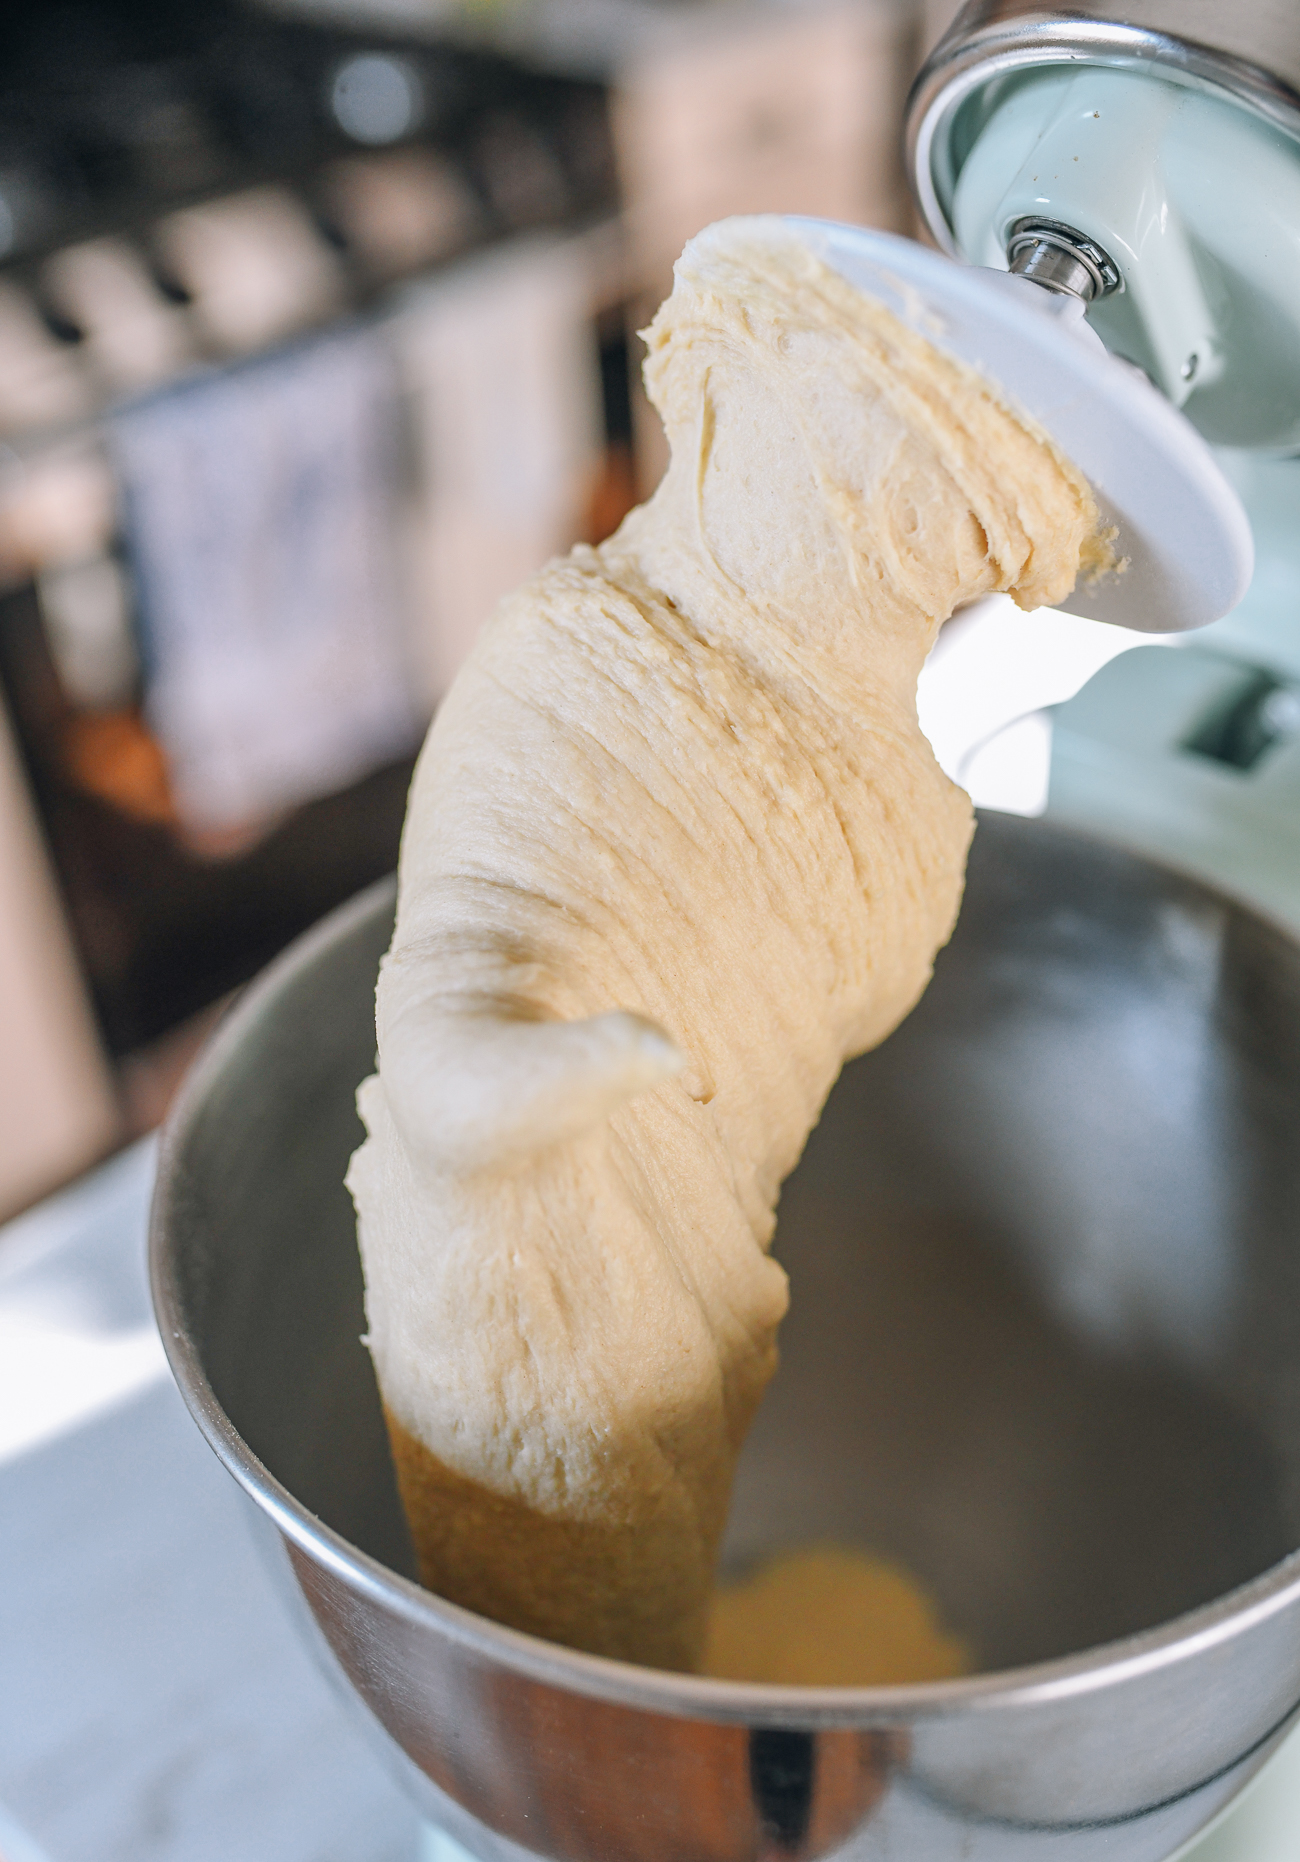
In the bowl of a stand mixer, add ingredients in the following order: heavy cream, milk, egg, sugar, cake flour, bread flour, yeast, and salt. Use the dough hook attachment, and turn on the mixer to “stir.” Let it go for 15 minutes, occasionally stopping the mixer to push the dough together.
If you’re in a humid climate and the dough is too sticky, feel free to add a little more flour 1 tablespoon at a time until it comes together. It should be a little sticky and elastic—sticking to the bottom of the mixing bowl is okay. It should not stick to the sides of the bowl.
If you don’t have a mixer and would like to knead by hand, extend the kneading time by 5-10 minutes.
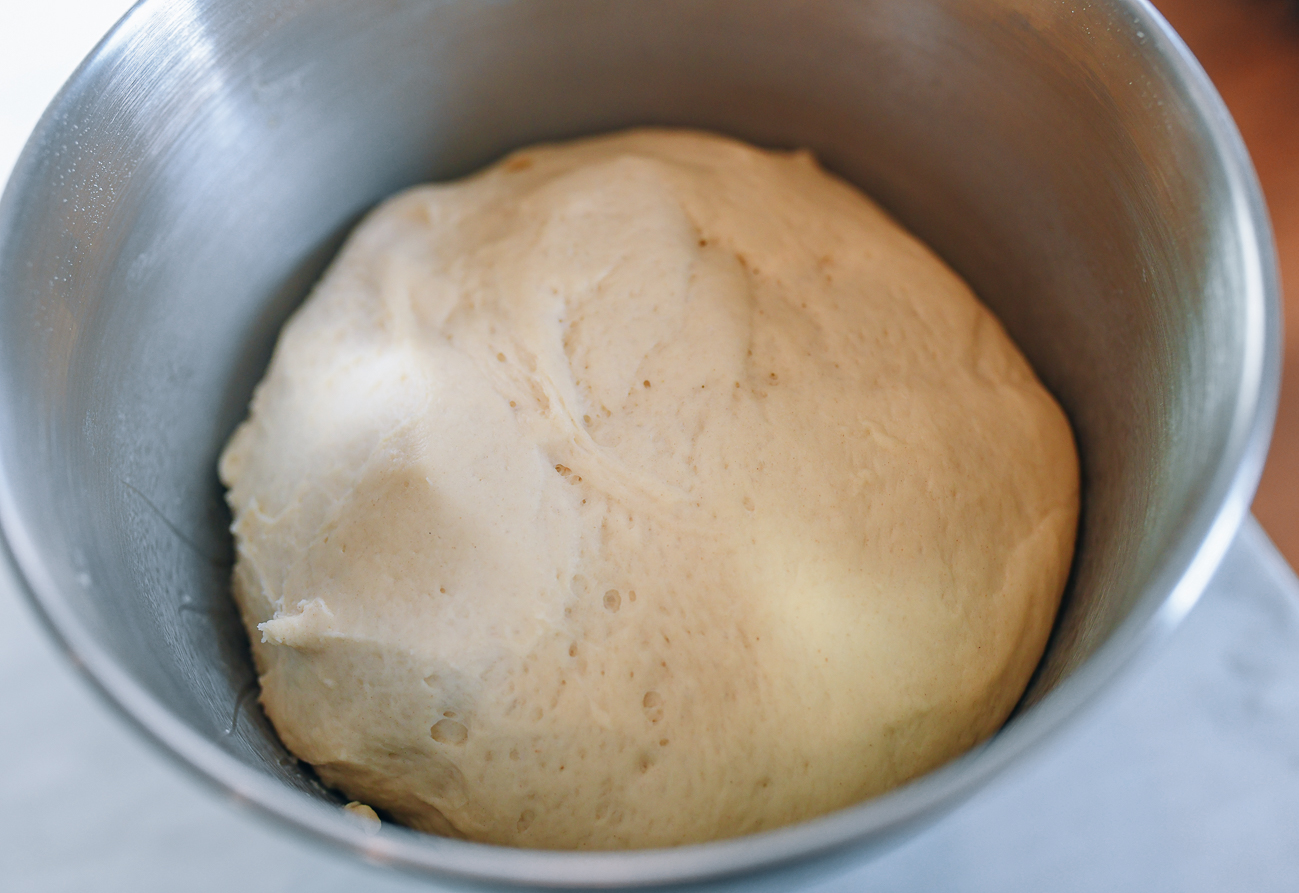
After 15-25 minutes of kneading, the dough is ready for proofing. Cover the bowl with a damp towel and place in a warm spot for 1 to 2 hours. I proof my dough in the microwave with a large mug of boiling water next to it. With the microwave door closed, the moisture and the heat from the boiling water is ideal for proofing.
Dough Notes!
- A note on yeast: As long as your yeast is within date and properly stored, you do not have to activate it using a warm liquid and sugar before adding it to the dough ingredients. You can add it directly to the mixer with the other ingredients. However, if you’d like to confirm that your yeast is still alive/active, you can dissolve 1 teaspoon sugar into ¼ cup of the milk (heated until tepid), and then add the yeast. Mix, and let it stand for 10 minutes until foamy. Once foamy, simply add to the other ingredients in the mixer (reduce the milk to ¾ cup, since you already added ¼ cup with the yeast. The additional 1 teaspoon of sugar is negligible). If the yeast does not foam, it is not active and you should not use it.
- Don’t have cake flour or bread flour? We have since extensively re-tested this recipe using just all-purpose flour instead of the mix of cake flour and bread flour (and we’re adding this update on 12/3/21). The results are not meaningfully different, so by all means, go ahead and substitute both with all-purpose flour!
- To make this dough in advance: assemble the dough, cover tightly, and allow it to proof overnight in the refrigerator (rather than for 1-2 hours at room temperature). The next day, let it come back up to room temperature on the kitchen counter, and proceed with the recipe.
- The first proofing may take up to 2 hours or even a little longer. The dough should ideally double in size—be patient!
While the dough is proofing, it’s time to make the filling.
Make the ube filling:
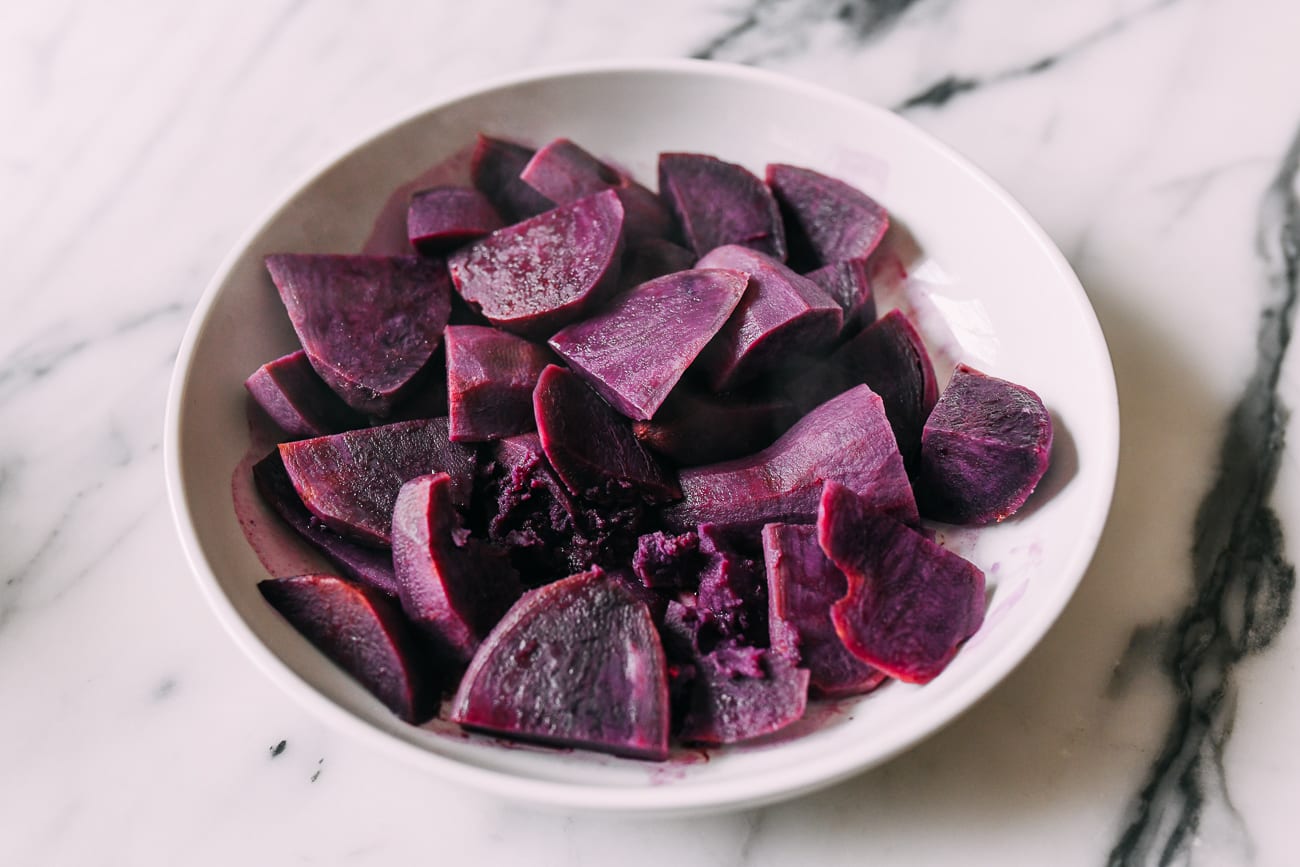
Trim and peel the ube, and cut it into 1-inch (2.5 cm) chunks.
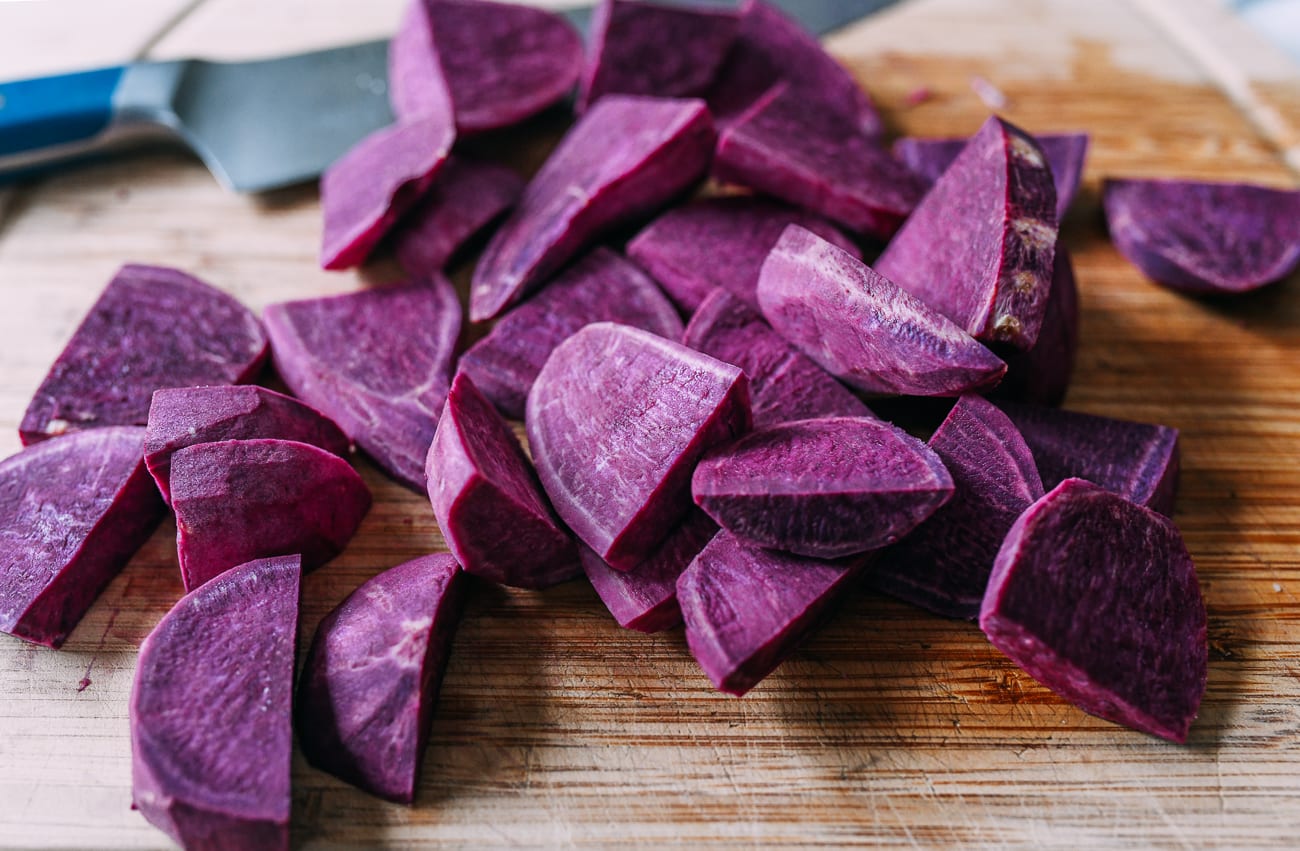
Steam for 30 minutes on high heat until fork-tender. Remove from heat, preserving any liquid in the dish from steaming.
While it’s still hot, add the salt, sugar (as called for or to taste), vanilla extract, coconut oil, and unsalted butter.
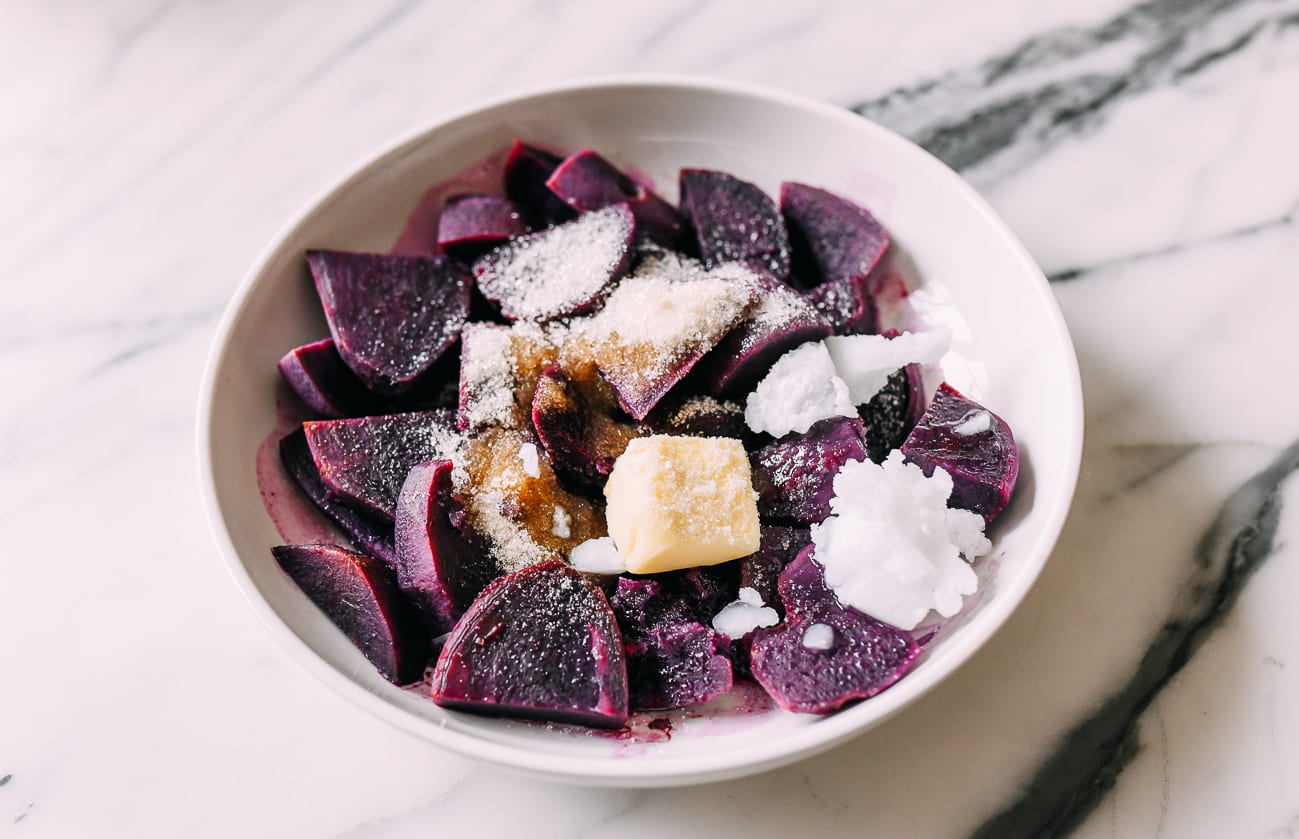
Using a potato masher or food processor, mash the ube until it’s smooth and the sugar is completely dissolved. Cover and set aside.

Assemble the ube buns:
After the first proofing, put the dough back in the mixer and knead for another 5 minutes to get rid of air bubbles.
Divide the dough into 12 equal pieces. (You can eyeball this, but for best results, weigh the dough and divide that number by 12. Then weigh each individual piece of dough to match that number. Our total dough weighed 1070g, so each individual piece of dough weighed 89g).
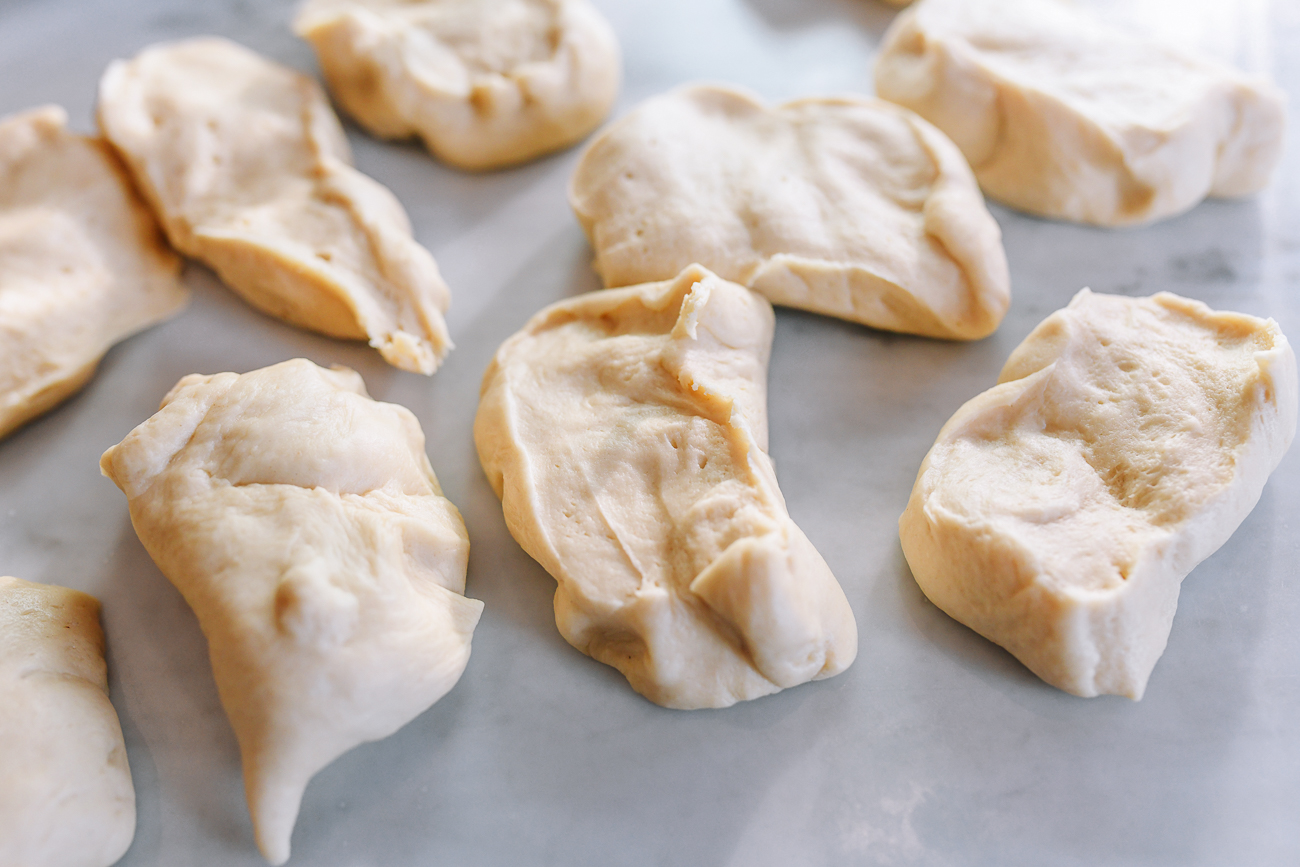
Do the same with the filling. Our filling weighed 480g, so for 12 buns, each bun has 40g of filling.
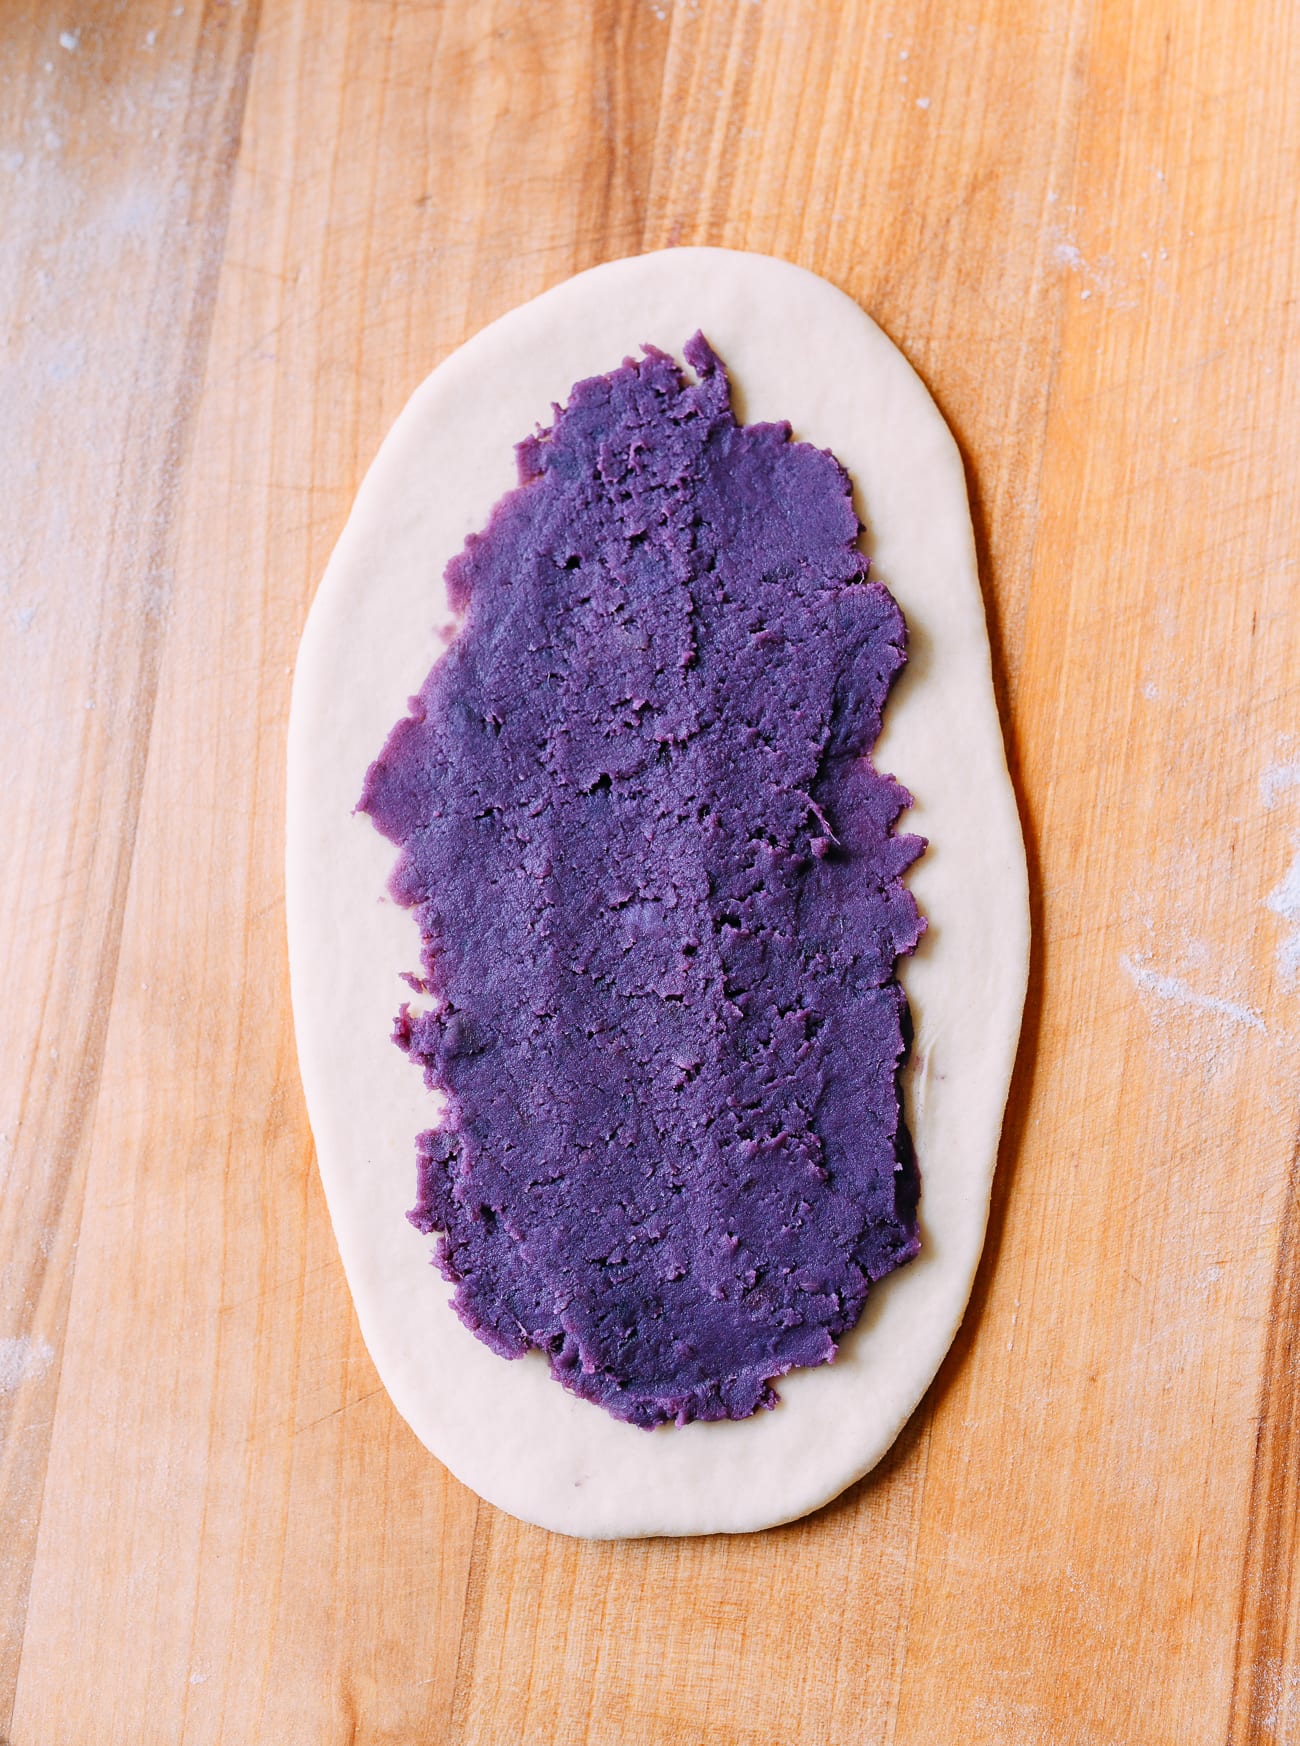
Knead each individual piece of dough into a smooth ball. Using a lightly floured rolling pin, roll each piece of dough into a 4.5×8-inch (11.5×20 cm) rectangle/oval.
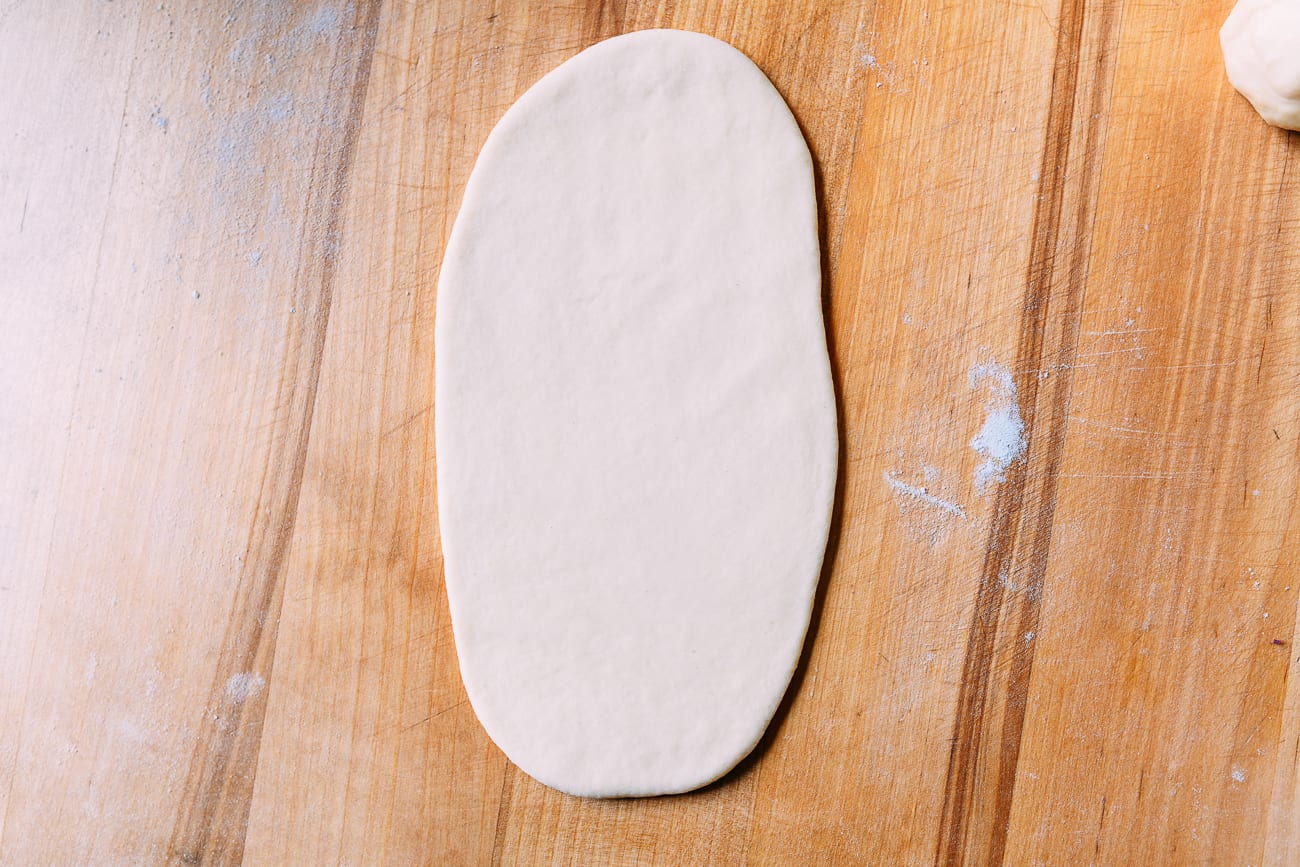
Spread the ube filling onto the dough in a flat, even layer, leaving a ½-inch (1.25 cm) border around the edges.
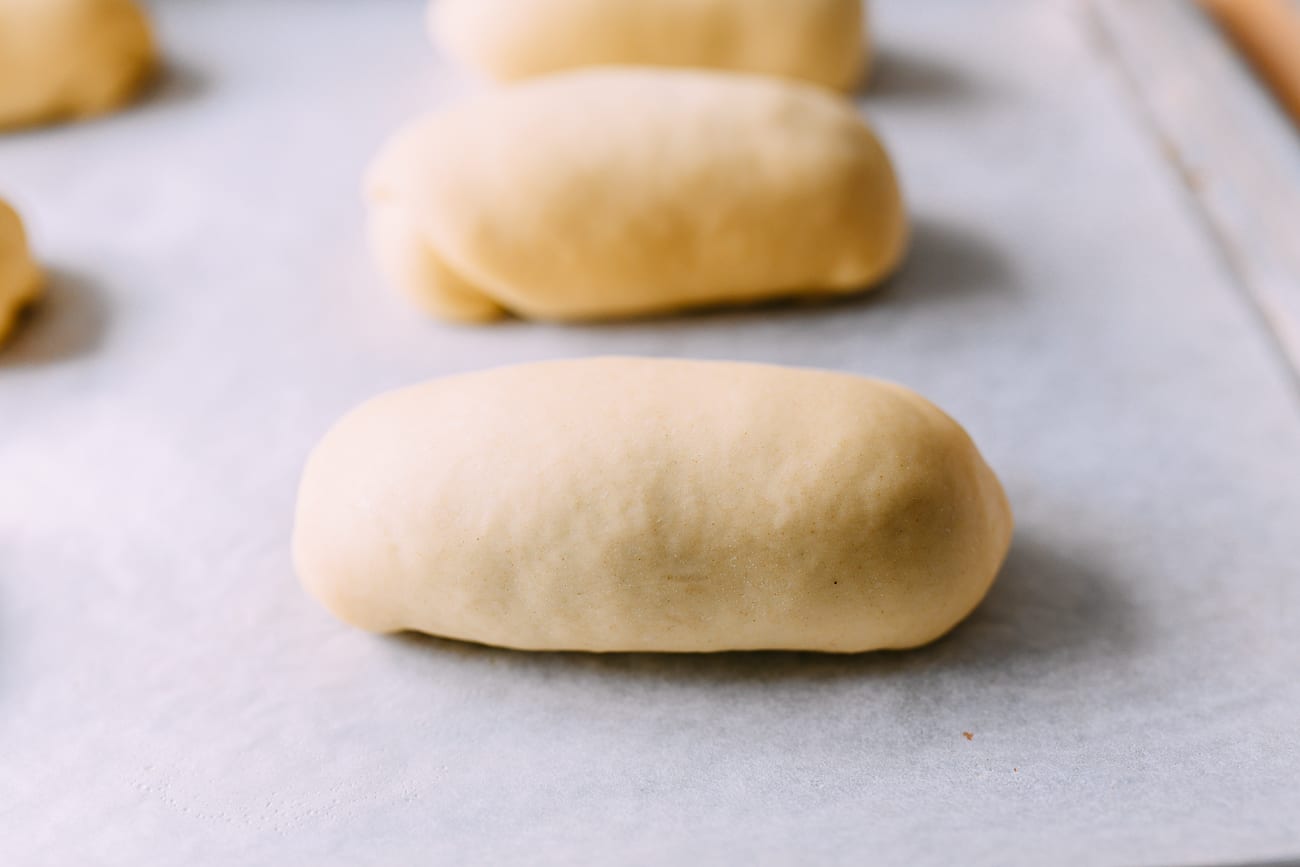
Starting from one of the short sides of the dough, tightly roll it into a cigar to enclose the filling inside.
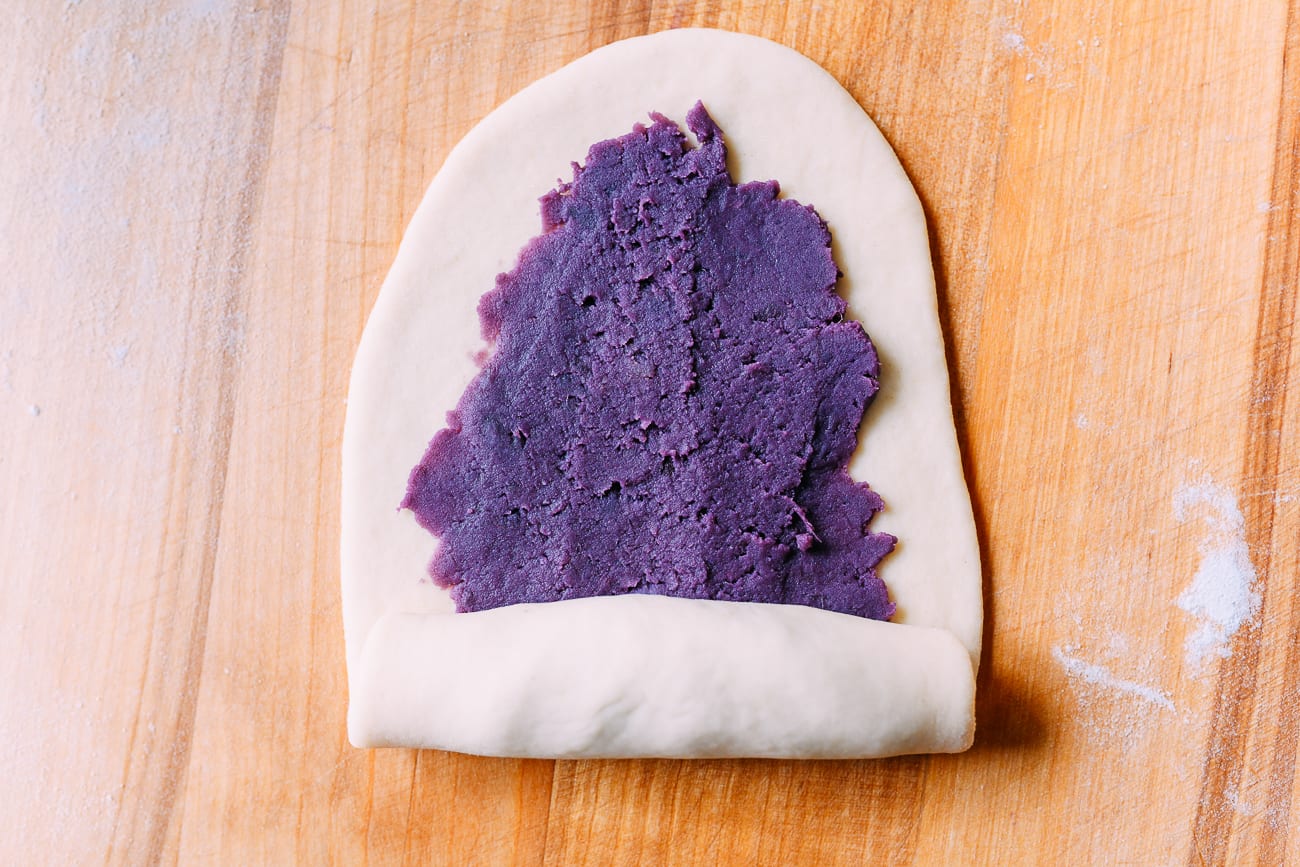
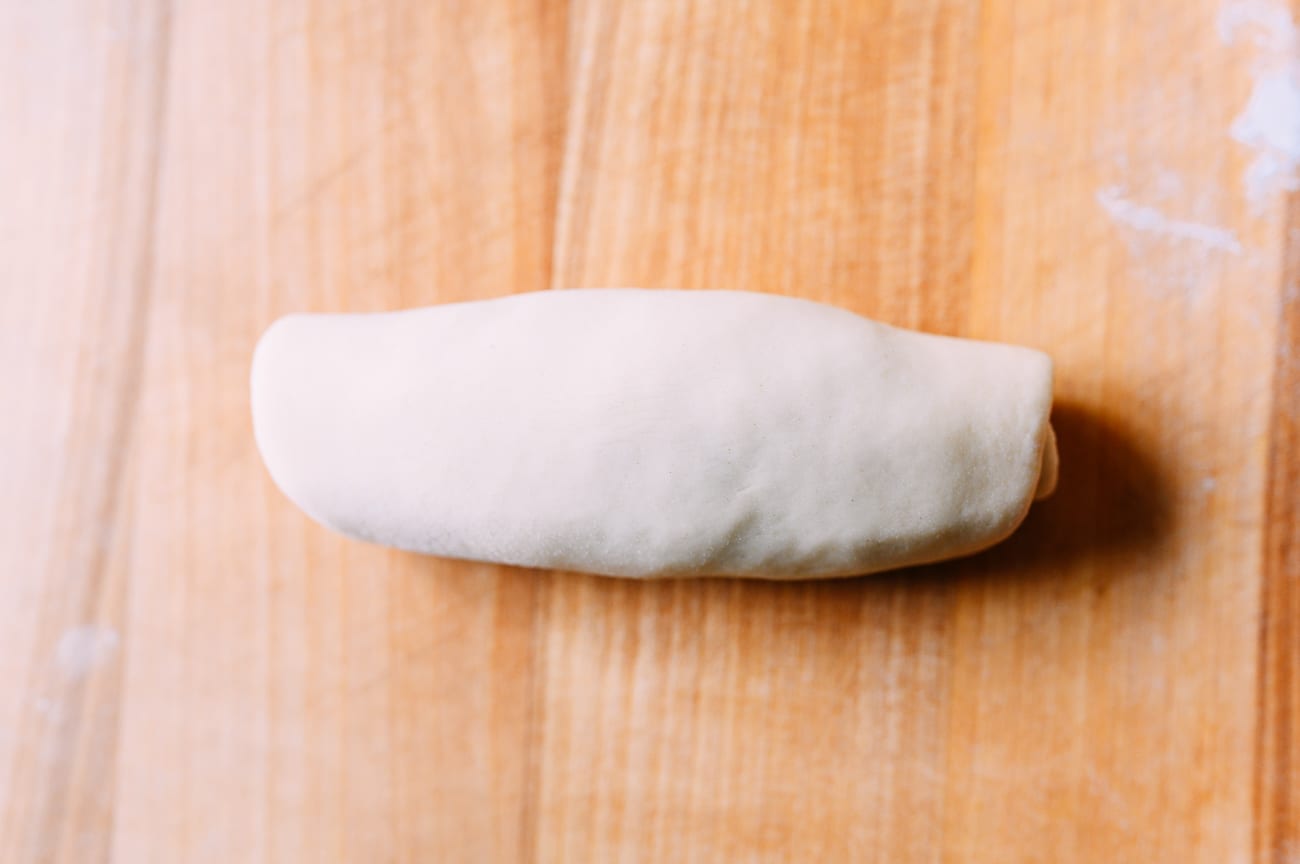
Pinch the seam and both ends closed, tucking them underneath the bun.
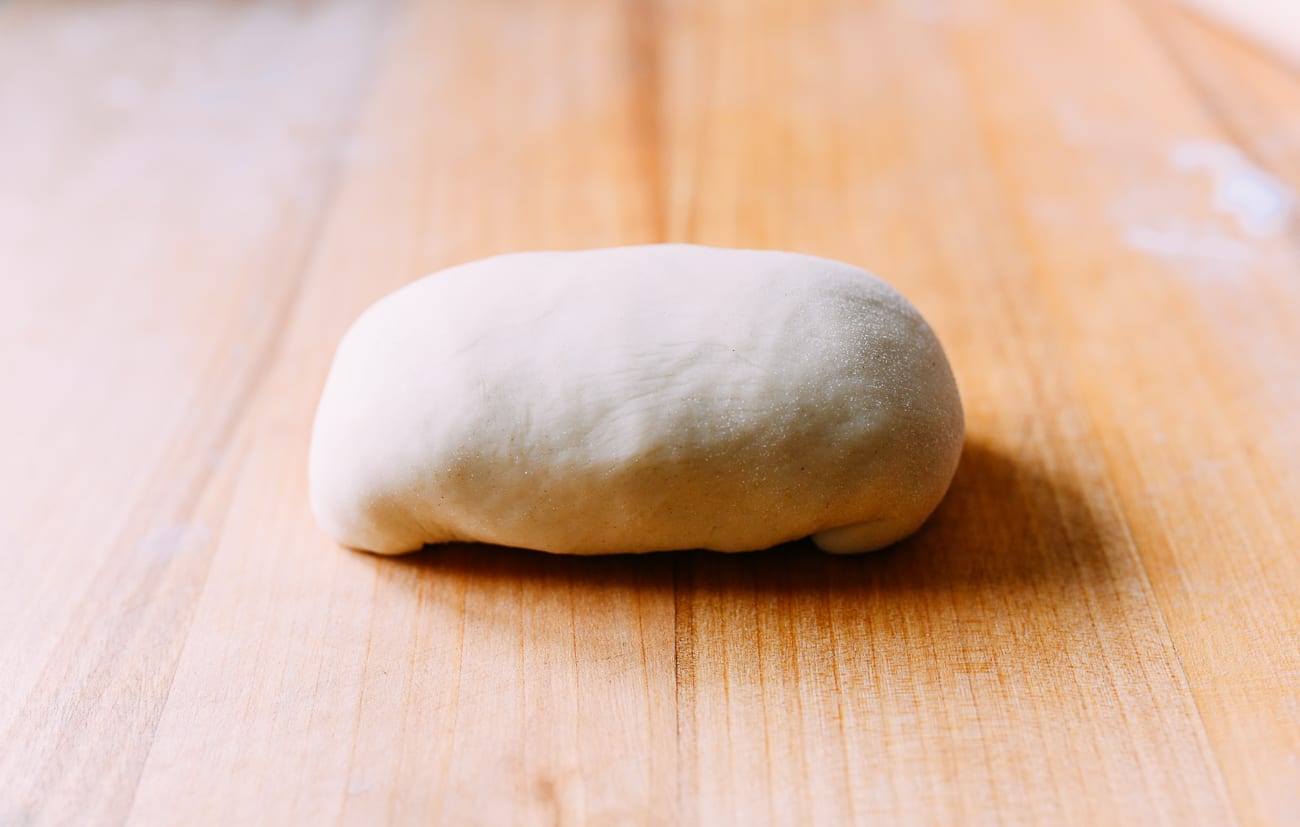
Once shaped, let the dough proof for another hour.
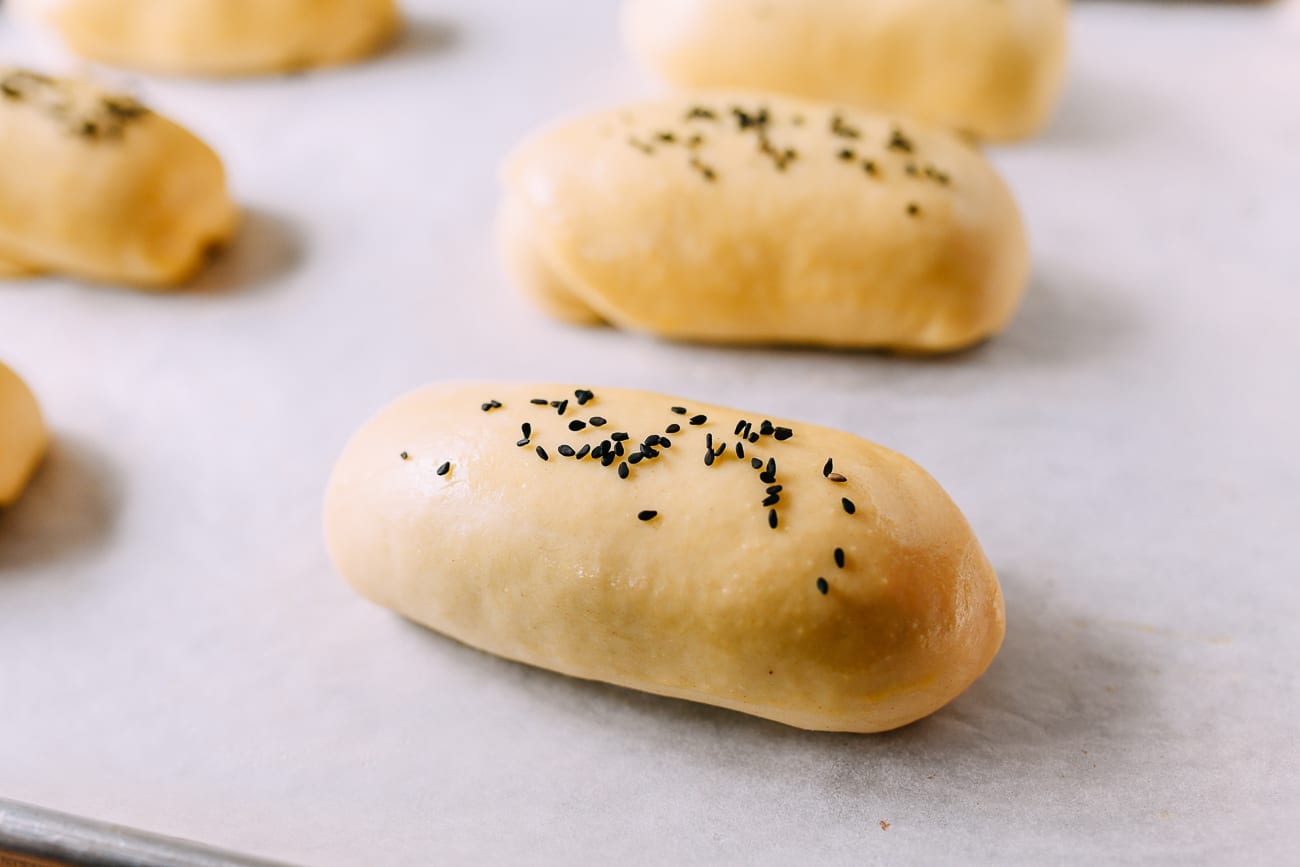
15 minutes before the buns are done proofing, position a rack in the middle of the oven, and preheat it to 350°F/175°C.
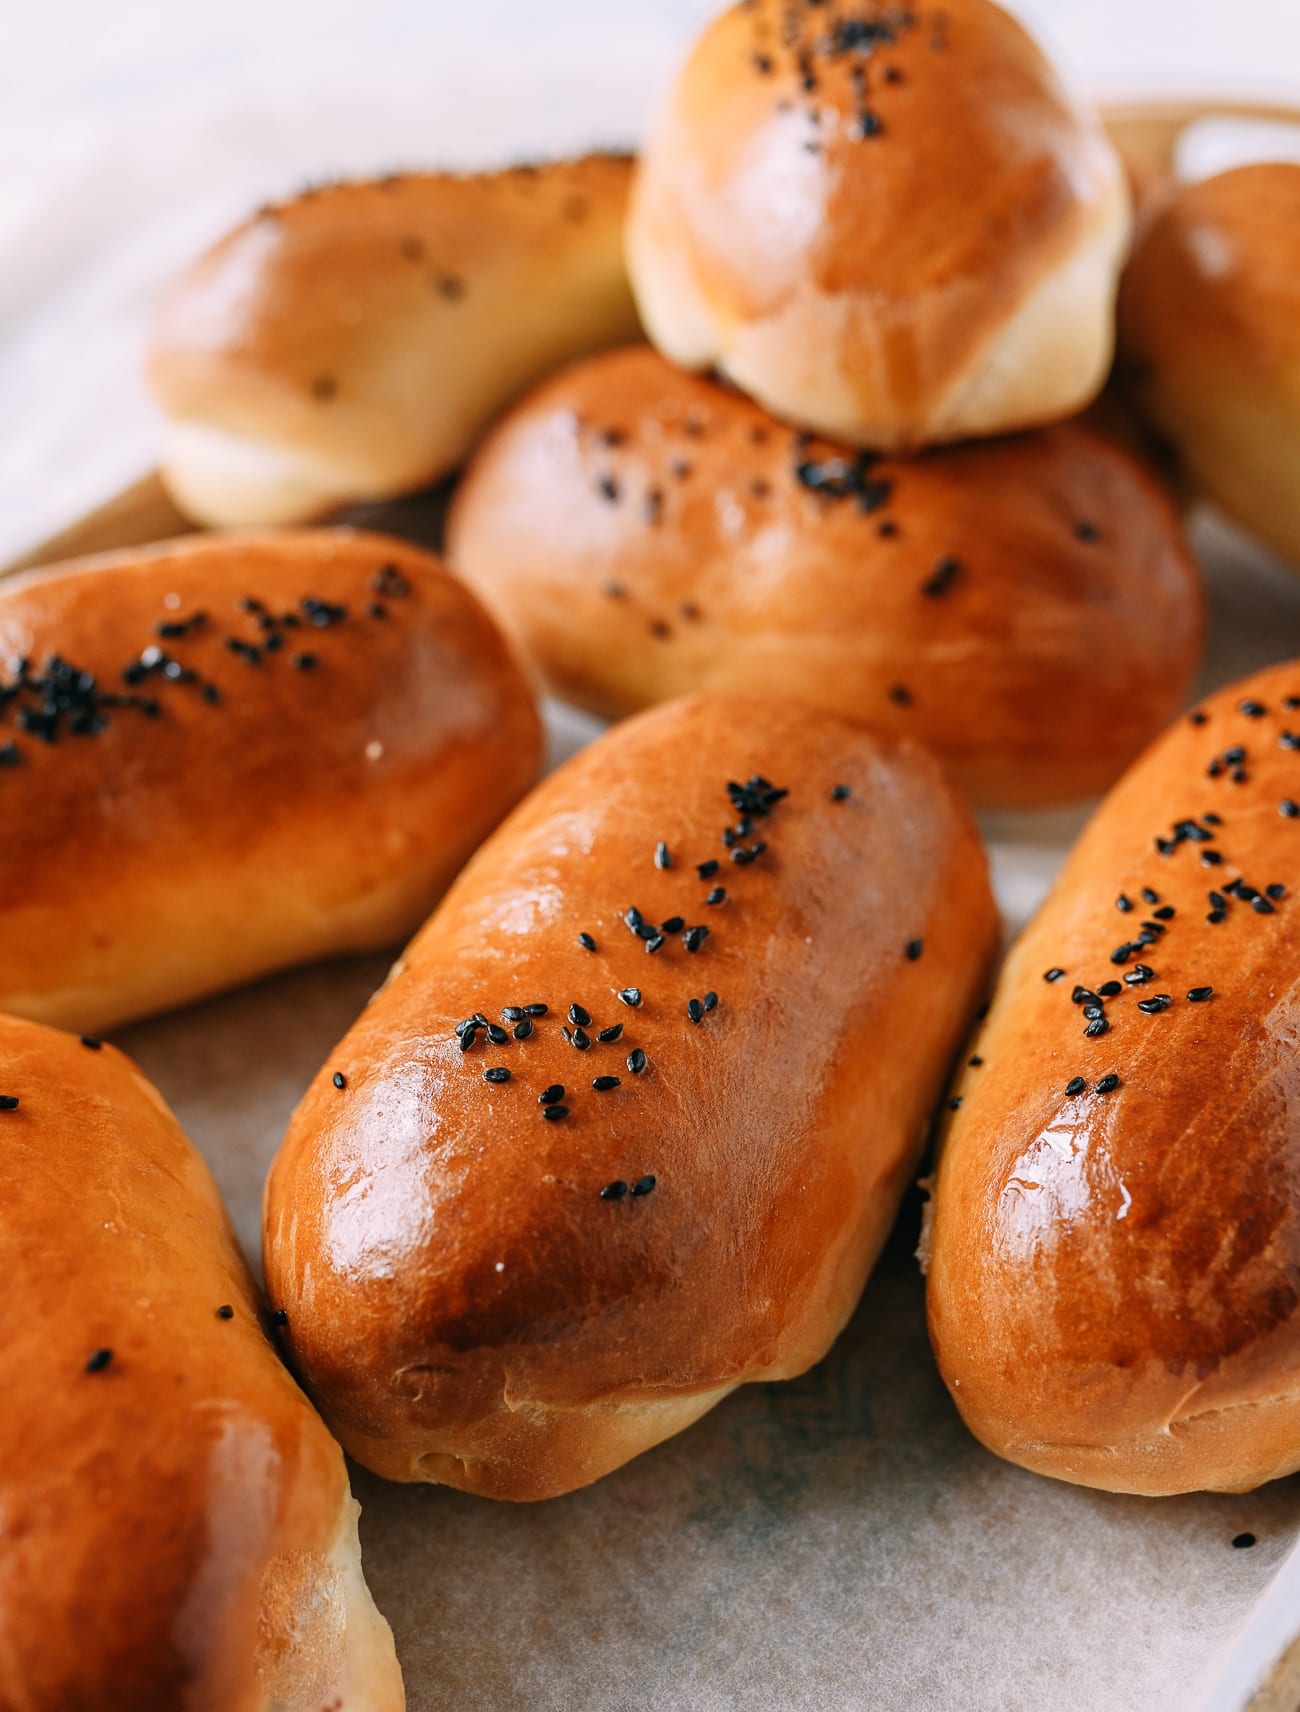
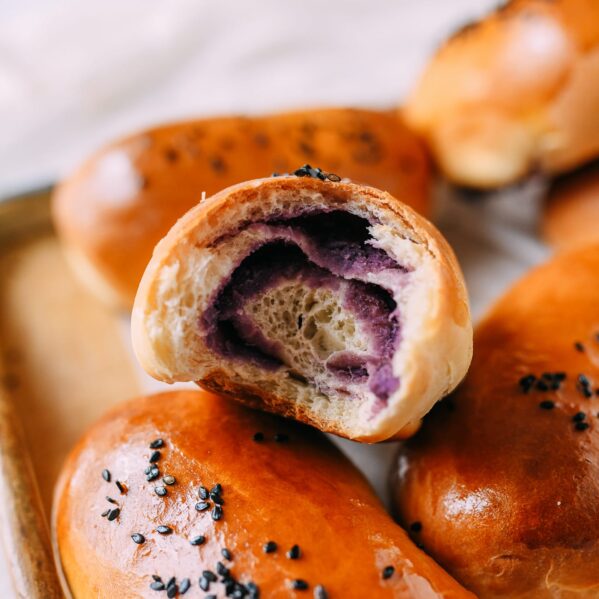
Brush the risen dough with egg wash, sprinkle lightly with sesame seeds if using, and bake for 16-18 minutes.
Remove from the oven, and immediately brush the buns with sugar water to give them a great shine, sweetness, and color.
Storage and reheating instructions:
Store these buns in an airtight container at room temperature for 1-2 days, or in the refrigerator for up to 6 days. To reheat, microwave for 20-30 seconds until warm and soft, and serve immediately.
Ube Buns
Ingredients
For the milk bread:
- 2/3 cup heavy cream at room temperature
- 1 cup milk at room temperature (whole milk is ideal, but can also use 1% or 2% milk)
- 1 large egg at room temperature
- 1/3 cup granulated sugar
- 1/2 cup cake flour
- 3 1/2 cups bread flour
- 1 tablespoon active dry yeast
- 1 1/2 teaspoons salt
- egg wash (whisk together 1 egg with 1 teaspoon water)
- 1 tablespoon sesame seeds (black or white sesame seeds, optional)
- simple syrup (optional: 2 teaspoons of sugar dissolved in 2 teaspoons hot water)
For the ube filling:
- 14 ounces raw, trimmed, peeled ube
- 1/4 teaspoon salt
- 3 tablespoons granulated sugar (or to taste)
- 1/2 teaspoon vanilla extract
- 1/4 cup coconut oil
- 1 tablespoon unsalted butter
Instructions
Make the milk bread dough (see "Dough Notes" box in post for more detail):
- In the bowl of a stand mixer, add ingredients in the following order: heavy cream, milk, egg, sugar, cake flour, bread flour, yeast, and salt. Use the dough hook attachment, and turn on the mixer to “stir.” Let it go for 15 minutes, occasionally stopping the mixer to push the dough together.
- If you’re in a humid climate and the dough is too sticky, feel free to add a little more flour 1 tablespoon at a time until it comes together. It should be a little sticky and elastic—sticking to the bottom of the mixing bowl is okay. It should not stick to the sides of the bowl. (If you don’t have a mixer and would like to knead by hand, extend the kneading time by 5-10 minutes.)
- After 15-25 minutes of kneading, the dough is ready for proofing. Cover the bowl with a damp towel and place in a warm spot for 1 to 2 hours. I proof my dough in the microwave with a large mug of boiling water next to it. With the microwave door closed, the moisture and the heat from the boiling water is ideal for proofing.
Make the ube filling:
- While the dough is proofing, trim and peel the ube, and cut it into 1-inch (2.5 cm) chunks. Steam for 30 minutes on high heat until fork-tender. Remove from heat, preserving any liquid in the dish from steaming.
- While it’s still hot, add the salt, sugar (as called for or to taste), vanilla extract, coconut oil, and unsalted butter. Using a potato masher or food processor, mash the ube until it’s smooth and the sugar is completely dissolved. Cover and set aside.
Assemble and bake:
- After the first proofing, put the dough back in the mixer and knead for another 5 minutes to get rid of air bubbles.
- Divide the dough into 12 equal pieces. (You can eyeball this, but for best results, weigh the dough and divide that number by 12. Then weigh each individual piece of dough to match that number. Do the same with the filling.
- Knead each individual piece of dough into a smooth ball. Using a lightly floured rolling pin, roll each piece of dough into a 4.5×8-inch (11.5×20 cm) rectangle/oval.
- Spread the ube filling onto the dough in a flat, even layer, leaving a ½-inch (1.25 cm) border around the edges. Starting from one of the short sides of the dough, tightly roll it into a cigar to enclose the filling inside. Pinch the seam and both ends closed, tucking them underneath the bun.
- Once shaped, let the dough proof for another hour. 15 minutes before the buns are done proofing, position a rack in the middle of the oven, and preheat it to 350°F/175°C.
- Brush the risen dough with egg wash, sprinkle lightly with sesame seeds if using, and bake for 16-18 minutes.
- Remove from the oven, and immediately brush the buns with sugar water to give them a great shine, sweetness, and color.